Main page Support forum Download

Starting RM-Tool
Decompress the RM-Tool archive to the location of your choice, and double-click rmtool.exe. Couldn't be simpler.
From the main window, select one of the Tool options at the left side of the window. These are:
- Scan project: Scan a project.
- Import: Automatic import of resources.
- Purge: Automatic deletion of resources.
- About: Displays copyright and version information.
- Exit: Closes RM-Tool.

Scanning a project
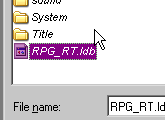
To start scanning a project, click Scan. The program will ask you for the location of the
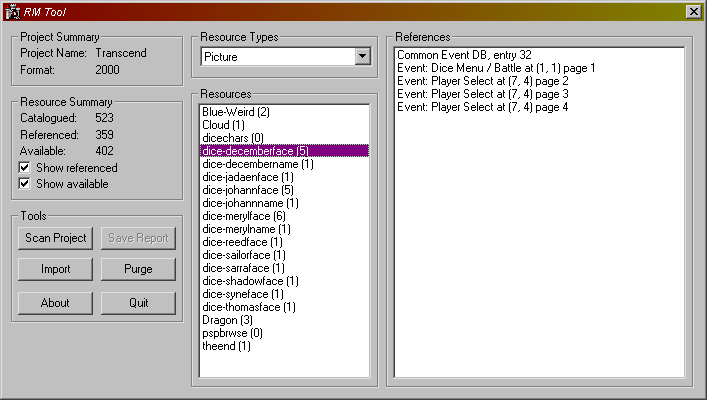
database file of the project you wish to scan. After the scan is complete, it will print out a
summary of all the files in the project - their types, the number of actual files of that type, how
many of those files were actually referenced and how many are missing from the project directory.

From here, you can browse the resources used in your project. The program remembers every reference
to any specific file so it's easy to find the file in your project if it's referenced where it shouldn't be.

Importing and purging files
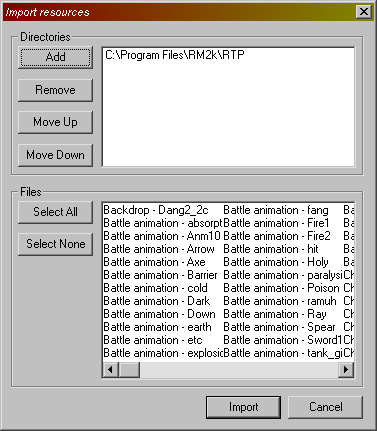
Import allows you to automatically add unused files to your project. The top window is a list of all directories to import from, and the RPG Maker 2000/2003 (depending on project type) RTP will be added automatically. Use Add to add a new entry to the end of the list and Remove to delete the selected entry from the list. Move Up and Move Down change a directory's priority - the program scans the directory at the top of the list first for any needed resources, and continues down the list until it finds one that has the file it needs.
The bottom window is a list of all files that are missing from the project. Use Select All and Select None to quickly select or deselect all the files in the list. Individual files can also be selected for import, and RM-Tool attempts to import only the files that are selected in this list. Unselected files are skipped.
Purge removes unneeded files from your project. The program will ask if this is what you are sure you want to do, as purging files bypasses the Recycle Bin and deletes files outright.


